Input Switching Speed
Multiple settings for input switching speed. Select among “normal, quick or super” settings. If multiple sources are used and visible waiting times with black screens would impact viewing, the fast input switching can be convenient and avoid distraction
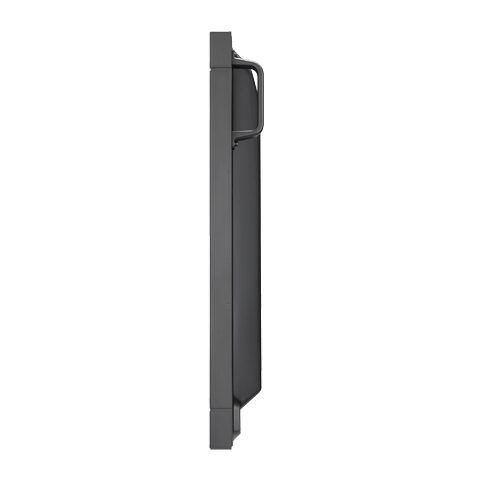
Advanced Cooling System
Prevents the likeliness of image retention and improves color uniformity.
Near Field Communications
Reduce installation and servicing costs with the on-board near field communication (NFC) sensor. Use a smart phone with NFC capabilities to preconfigure the display. Configure displays once in the app and then just copy the settings to all displays in the install before they go up. For service, this app can be used to read relevant information such as serial numbers and a log files which can be emailed and analyzed. This makes failure reporting more convenient and less expensive
Human Sensor Accessory
The human sensor accessory helps deliver creative digital signage to end users by allowing for dynamic control of brightness, audio and source inputs while saving operating costs. It also ensures digital signage is on and directed at a targeted audience
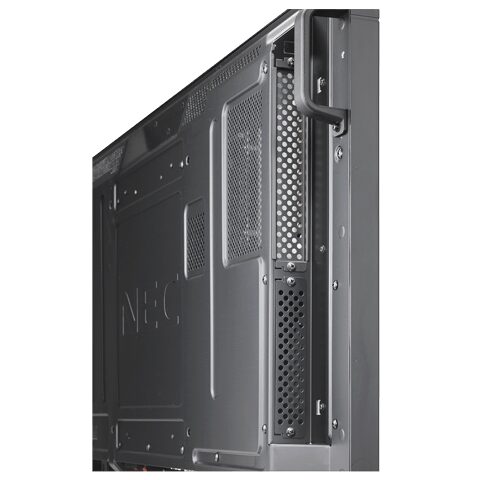
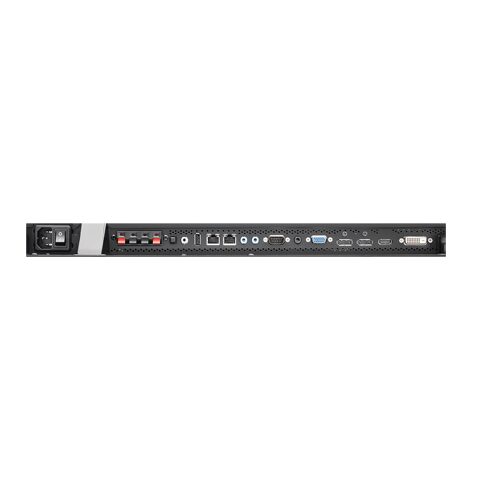
Interface Extension Slot
A second expansion slot designed to add and customize analog and digital connectivity. This second slot in combination with the OPS expansion slot offer almost unlimited connectivity and player combinations
Improved daisy chain
Supports video daisy chaining up to 100 pieces via DisplayPort loop through capabilities. LAN, IR and RS232 can be looped simultaneously via LAN. Fewer cables mean less cost and shorter install times thereby reducing cost overall
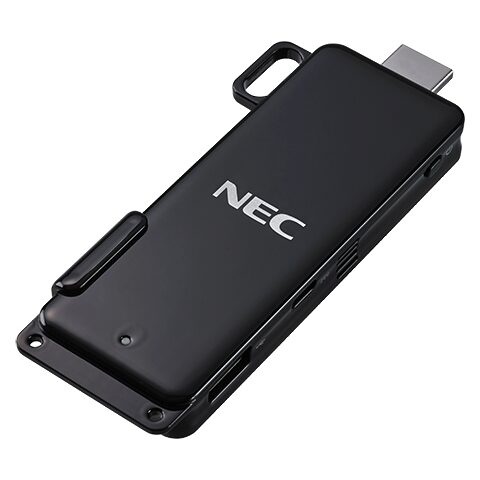
Open Pluggable Specification (OPS)
The first industry-wide standardization in option slots that allows for easier installation, use and maintenance of digital signage
Proof of Play
Display monitors multiple parameters once command to start proof of play has been issued to the display. 24 hours of monitor data recorded to prove content paid for was shown
Programmable Gamma
3 Look-Up-Table (LUT) banks allows the display to save multiple calibration settings. This improves display flexibility as displays do not have to be recalibrated each time requirements changes. Also useful for rental and staging
Auto Tile Matrix
A set up feature that will save a tremendous amount of time and cost at set up. Auto tile matrix does and auto set up of video wall via DP and LAN daisy chain. Just run auto ID on the first display, choose the number of horizontal and vertical displays, press “SET”